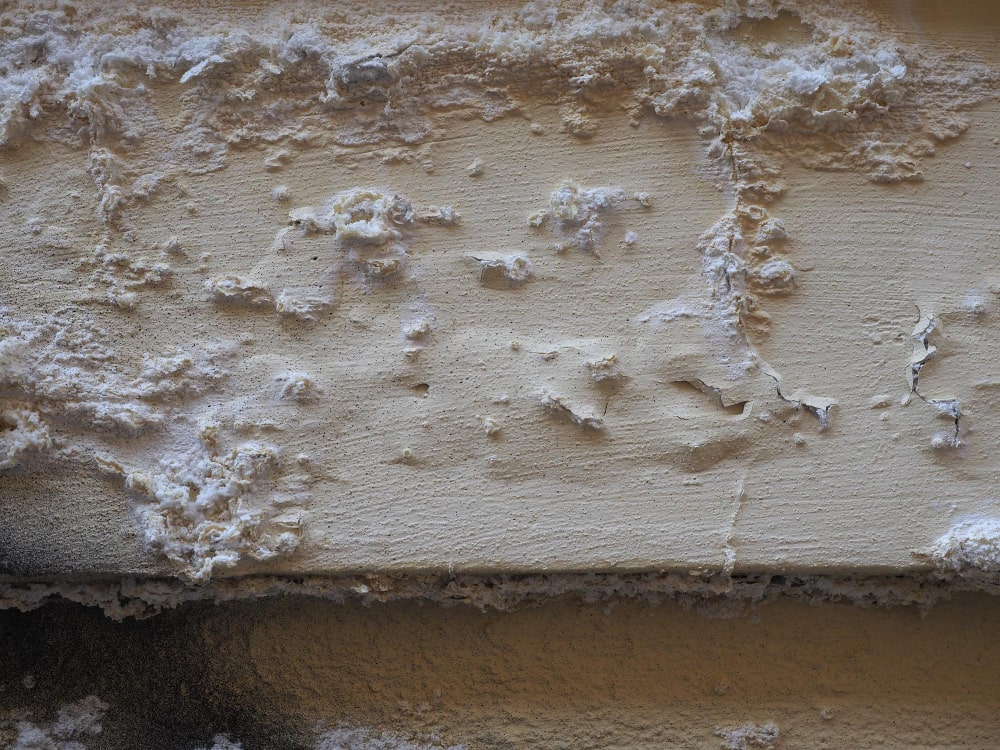
You’ve noticed those pesky damp patches on your walls and the musty smell in the air. Wall dampness is no joke – it can lead to costly damage if left unaddressed. The good news is there are several effective ways for you to protect your walls from dampness and the havoc it wreaks. This comprehensive guide will walk you through the top strategies to diagnose the root causes of damp walls in your home and fix them for good.
You’ll learn how to seal up cracks, improve ventilation, waterproof exposed walls, and make simple repairs to plumbing or drainage systems allowing moisture to seep in. With some effort and the right products, you can banish wall dampness and enjoy the many benefits of a dry, healthy home environment. The battle against dampness starts now!
1- Identifying and Repairing Leaks to Stop Wall Dampness
Check where water’s seeping in around the damp walls. Look for cracks or holes in foundations, roofs, and plumbing. Seal or repair them to eliminate the source of dampness.
2- Proper Ventilation for a Damp-Free Home

Proper ventilation is key for controlling dampness in walls. Keep air flowing through your home with exhaust fans that vent outside in kitchens, bathrooms, and laundry rooms. Run them for at least 20 minutes after showering or cooking.
Crack open windows when possible too, as fresh air circulation reduces humidity and prevents the buildup of mold-promoting moisture. An energy-efficient exhaust fan or dehumidifier can also help remove excess moisture from the air and keep your home comfortably dry.
3- Waterproofing as a Prevention
Waterproofing your walls is one of the best ways to prevent dampness and moisture damage. Apply a waterproof sealant, like silicone or acrylic sealant, to seal any cracks or gaps in walls, especially in areas like basements or attics. For larger wall surfaces, use a waterproofing paint or membrane. These create an impermeable barrier keeping liquid water out, while still allowing water vapor to pass through.
4- Fixing Drainage Issues for Maximum Hygiene and Perfect Vastu
To prevent dampness from seeping into your walls, ensuring proper drainage around the foundation of your home is key. Rainwater and moisture should flow away from the base of the walls, not pool against them.
Check that your home’s gutters and downspouts are clear and directing water away from the foundation. Clogged or misdirected gutters are a leading cause of water accumulating in the soil next to walls.
Dig a slope away from the damp walls so water flows away. Create a slope of at least 1 inch per foot for the first 10 feet around the perimeter of the house. This helps rainwater and moisture naturally run off and not soak into the soil.
Install a French drain or drainage pipe around problem areas. Bury a perforated pipe in a gravel-filled trench to channel excess water away from walls. Run the pipe to an area where the water can be discharged, such as a storm sewer.
Waterproof problem spots like basement walls or a crawl space. Apply a sealant, waterproofing paint, or membrane to problem areas below ground level where dampness tends to seep in. Re-apply every few years to maintain protection.
With proper drainage and waterproofing in place, you won’t have any damp walls. Your home will stay structurally sound, your indoor air will be healthier, and your belongings will remain free of water damage. Best of all, you’ll have peace of mind that dampness won’t sneak up on you!
5- Seal Cracks and Gaps to Prevent Leakage

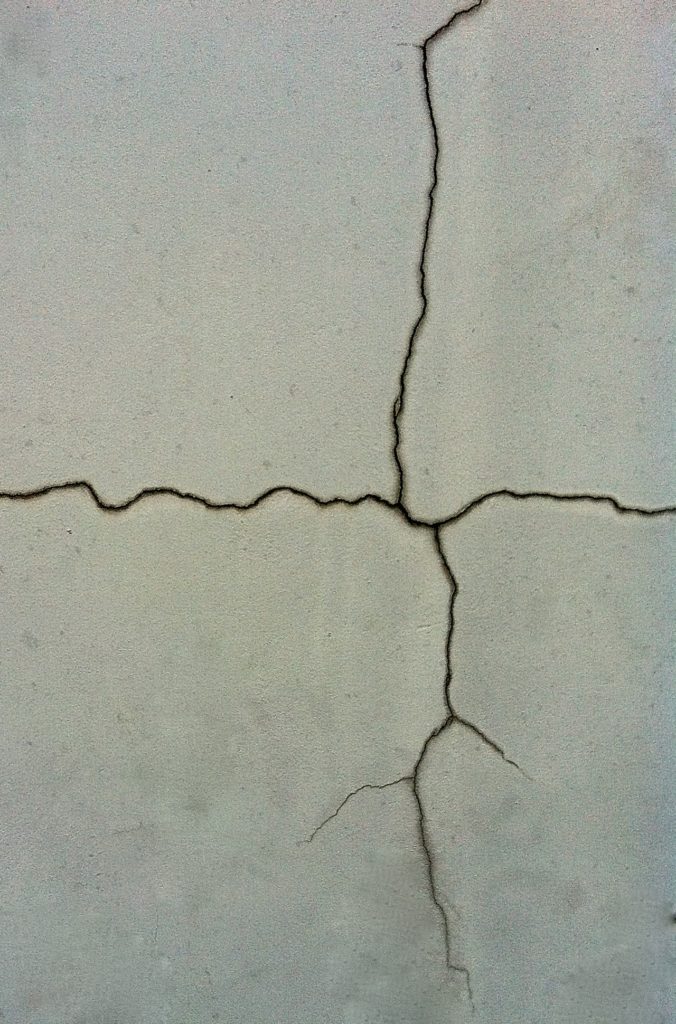
To prevent dampness from seeping into your walls, seal any cracks or gaps in foundations, basements, attics, and exterior walls. Even hairline fractures can let moisture in.
a- Inspect thoroughly
To identify damp walls, inspect your home’s exterior for small openings where two surfaces meet, like:
- Around pipes or wires entering the walls.
- Where the foundation meets siding.
- Under doors or windows.
- In the attic, where the roof joins walls.
Use a caulk, sealant, or weatherstripping to seal these cracks and gaps. For larger cracks, you may need to apply a concrete patch or sealant, especially in basements or crawlspaces. These DIY fixes are easy and effective at blocking moisture and improving energy efficiency.
6- Use Damp-Proof Paints for a Long-Lasting Effect

Damp-proof paints create an impenetrable seal over walls that blocks moisture. For the most effective protection, apply at least two coats. These specialized paints often contain acrylic or silicone resins that waterproof surfaces. Look for terms like “mold-resistant,” “water-repellent,” or “moisture-resistant” on product labels.
Some well-known brands of damp-proof paints include:
- Zinsser Perma-White Mold & Mildew-Proof Interior Paint
- Kilz Premium High-Hide Stain Blocking Interior/Exterior Primer
- Rust-Oleum Zinsser Bulls Eye 1-2-3 Mold Resistant Water-Based Primer
For severely damp walls, you may need to combine a waterproofing paint with a primer for the most comprehensive protection. Damp-proof paints provide an affordable, DIY solution to stop dampness and prevent future water damage.
7- Install a Damp-Proof Course for Additional Prevention
For extra protection against rising damp, you can install a damp-proof course (DPC) along your walls. A DPC is a waterproof barrier, often made of materials like slate, polythene sheeting or bituminous felt, that’s placed in the mortar course of brick walls. It blocks moisture from seeping upwards from the foundations by capillary action.
Installing a DPC involves removing a section of mortar from the wall to create a cavity, then fitting and sealing the DPC material into place. For solid walls without a cavity, you may need to install wall ties to provide an air gap before applying the DPC. A professional damp proofer can assess if a DPC is suitable for your damp walls and install it correctly. A DPC, combined with other solutions like repairing cracks and proper drainage, will help create a comprehensive defense against dampness.
8- Insulate Your Home for Never-Ending Freshness

Adding insulation to your home is one of the best ways to prevent wall dampness. Insulation creates an effective barrier against outside moisture from seeping into your walls. It also helps maintain a consistent temperature indoors which prevents condensation build-up. You have a few options for insulation:
- Fiberglass batting: Affordable and DIY-friendly. Place in between wall studs and attic floor joists.
- Cellulose: Made from recycled paper and a good eco-friendly choice. Can be blown into attic and dense packed into walls.
- Foam board: Rigid panels of polyisocyanurate or polystyrene provide high R-value. Must be professionally installed.
- Spray foam: Foam is sprayed and expands to seal all cracks and crevices. Provides maximum insulation but typically the most expensive option.
Insulating your home is a smart way to create an impenetrable shield against dampness and ensure your walls stay fresh and dry all year long. The investment in insulation can also significantly reduce your energy bills and create a cozier living environment.
9- Elevate Outdoor Landscaping
To prevent having damp walls in your home, elevate any plants, soil, mulch, or gravel near the foundation of your home. These materials hold moisture and allow it to soak into the ground, which can then penetrate basement and crawlspace walls.
Raise flower beds, gardens, and lawns so the base of the plants sits at least 6 to 12 inches above the ground. You can construct simple wooden or stone planters, or install pre-made plastic or metal garden edging around the perimeter of the area you want to elevate.
Backfill the space below with gravel to improve drainage before adding your topsoil and plants. The gravel will allow water to flow away from the foundation. You may need to re-level and re-slope the yard to direct water away from the building.
Keeping outdoor areas well-drained and elevated is an easy, inexpensive way to help keep your basement and crawlspace dry. Making this small change can have a big impact on the health and comfort of your home.
10- Monitor Humidity Levels and Take Necessary Precautions
Keep an eye on the humidity in your home with a hygrometer. High humidity can lead to damp walls and promote mold growth. Aim for 30-50% relative humidity for healthiest conditions. If levels rise above 60%, take action. Run an exhaust fan, open windows, or use a dehumidifier to lower moisture in the air.
a- Benefits of Dampness-Free Walls:
Having damp-free walls provides several benefits for your home and health.
b- Healthier Indoor Environment
Dry, moisture-free walls prevent the growth of mold, mildew, and other allergens in your home. This leads to better indoor air quality and a lower chance of respiratory issues for you and your family.
Take Away
So there you have it – a comprehensive guide with practical steps you can take to protect your damp walls and the resulting damage. By identifying and fixing the source of leaks, improving ventilation, applying waterproofing solutions, and sealing up cracks, you’ll be well on your way to drier walls and a healthier home. Make damp-proofing a priority and you’ll reap the benefits of improved structural integrity, a better indoor environment, preservation of your belongings, and energy efficiency. Take action today to safeguard your walls and you’ll breathe easier knowing you’ve eliminated this pestering problem. Soon you will get rid of all your damp walls and the effort will be well worth it!

